facebook offer button


Managing DNS Zone Tutorial


In order to access your WHM, you need to add /whm after your domain name (provided the domain is pointed to your account with us). So, for example, if your site is domain.com, you will be able to access your WHM interface by visiting http://domain.com/whm.

If your domain is not yet pointed to your Cloud account, you can access your WHM by typing the server name and then again adding /whm after it. For example, if you are hosted on c1234.sgvps.net, you will be able to access your WHM at any time by visiting http://c1234.sgvps.net/whm.

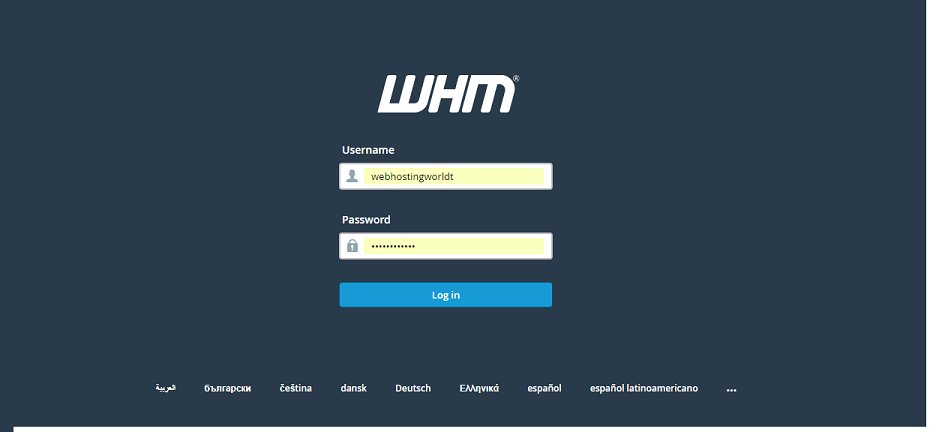
When you accept the certificate, you will be redirected to a page with login form where you should fill in your username and password. The username is your cPanel username and the password is your cPanel password.

hosting tutorial

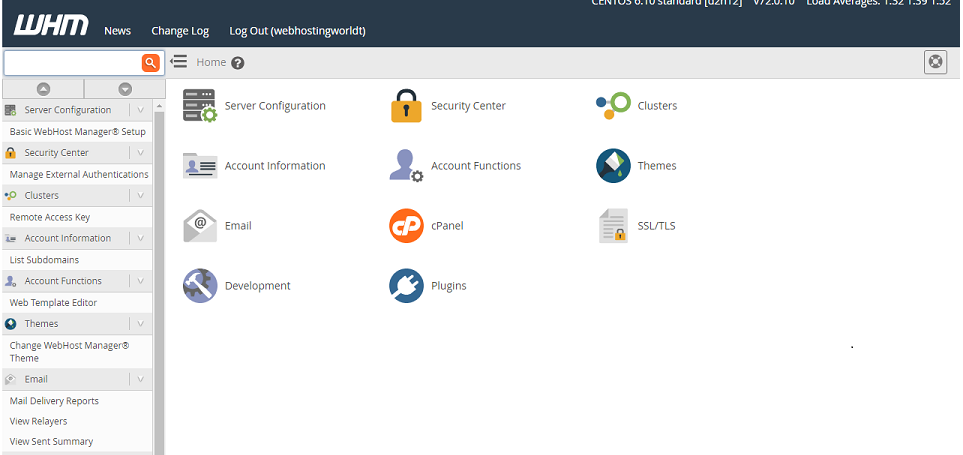
Once you log in, you will see the WHM Hom alt="hosting tutorial"e/Main page:

hosting tutorial

In the left column are all the options you have for managing your hosting service. They are divided into several sections and there is a Search field for quickly finding the option you need. The names of the sections are pretty much self-explanatory and we will cover the most important ones in our tutorials. The sections you will probably visit the most are Packages and Account Functions. This is where you can create, edit and remove hosting packages and accounts.
Managing DNS Zone
You can manage the DNS zones of all domains hosted on your account and also edit the zone templates via the DNS functions section.

whm tutorial

Let's start off by explaining what a DNS zone is - it is the administrative part of the domain name system. It is responsible for directing the domain's traffic to the correct locations.

In other words, a DNS zone is where all DNS records are kept - it is where you tell to what IP a (sub)domain should point, which is the mail server handling the mail for the domain, etc.
Add a DNS Zone
To add a DNS zone, click the Add a DNS Zone button. You will be redirected to a new screen where you should type in the IP to which the domain should resolve and the domain itself:

hosting tutorial

Click on the Add Zone button to create the zone on the server.
Edit/Delete an existing DNS Zone
You can edit the zone from the Edit DNS Zone option and if you want to remove it, you can do so from the Delete a DNS Zone option. In both cases you should just select the DNS zone you want to change or remove and click on the Edit/Delete button.
Reset an existing DNS Zone
If you have made changes to a DNS zone and you want to revert it to the default values, use the Reset a DNS Zone option.
Edit MX records
The Edit MX Entry option allows you to configure the email routing for the domains on your server. It will list the mail servers for a particular domain, along with the priority value for each, starting from the one with highest priority. The mail server with highest priority will be the first to handle the email for the domain.
Edit Zone Templates
The Edit Zone Templates option will allow you to edit the default DNS zones used when creating DNS entries. You will not need to use this option, unless you have a custom setup.
Set Zone Time To Live (TTL)
This tool allows you to update the TTL value for all records in a DNS zone at once. If you have multiple DNS servers and do not want the TTL to synchronize across your cluster, select the Do not sync changes across the DNS cluster checkbox.
Park a Domain
Using this tool you may "park" a domain and make it an alias to another one. In the first column select the primary domain and in the second one type in the domain you want to park.


web hosting